
Filed under: printmaking | Tags: art, chine colle, drypoint, Ink, Monotyping, Paper, printmaking, Prints, visual art
So, the past few days were a bit productive. I did lots of drypoint prints on Thursday, and some more solarplate prints today. Last night, we had an amazing class with Catherine Kernan, who showed us viscosity monotypes. This is where you work with both very thin ink, and very stiff ink simultaneously. The two inks react to one another in very interesting ways. I don’t have any images to show this week, though! Our class worked collectively on five prints. It was fun, as we just experimented with making marks, and were amazed at our results. Hopefully, I will be able to show you one next week!
These are the drypoint prints that I made. I incorporated a little of that carborundum technique. This is where there are areas of dense color. I’m not sure that it was so successful, so I’ll have to try again.

Hmmm…I also tried rotating one of the plates:

Hmmmm. Then, I tried some chine colle…

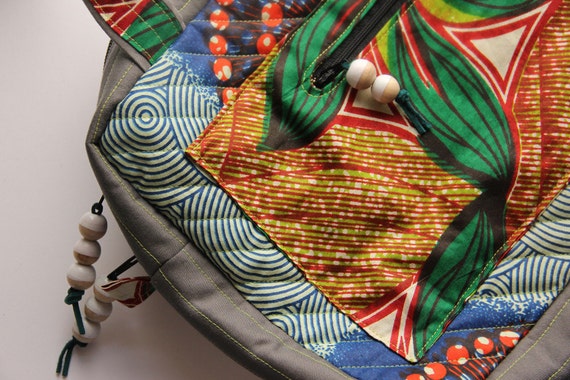
Also just “hmmm”…then I tried one of the plates in isolation…I liked this one the best:

Any thoughts?
Here are the solarplate prints. I managed to print the relief plate this time. This means that as opposed to smooshing the ink into the grooves, and wiping away the rest…a relief plate has the ink just rolled on the surface. I liked this, as it created an emboss, and gave the prints more character. I’m not so fond of the “flatness” of the smooth solarplate prints. Here is what the emboss looks like:


Can you see how the paper is raised?
Here are the actual prints:

The greenish in the photo above is from the relief plate, so it is not just ink on the paper…it also has indented the paper as well (as shown above).

I’m showing these in the order in which they were made…

My teacher thought that this one above looked “complete”. So…I have to “complete” the others at some point…

And another:

I generally like these. I agree that there is something “missing” in most of them. I need another layer. It’s always hard to add another layer later. When these are printed, the paper has been soaked. When paper dries…it shrinks, so you can’t put the same sized plate on unless you resoak it. Unfortunately, sometimes the paper still won’t expand up to it’s previous size when you resoak it, then the plate marks at the perimeter won’t line up with the previous marks. You can be VERY VERRRRY fussy in printmaking. Actually, I should say…you are supposed to be VERY VERRRY fussy. The only people who can thumb their nose at these rules are established, celebrity artists. So…not me. Not by a long shot.
Any comments? Feedback? Helpful suggestions? Random thoughts? Favorite place to get coffee?
3 Comments so far
Leave a comment

Hi there,
I also like these prints, but I know what you mean about there being something missing. I don’t necessarily agree with putting on another layer. The way that you have presented these images gives them a bit of a ‘washed-out’ look because the textured background you have photographed them on is very dark with lots of contrasting lines – I would suggest a more neutral colour and less detail, or cut a matte with a generous border to allow your prints some space.
Alternatively, you could add further elements by hand, creating another layer of uniqueness to each print in the process.
Lovely work – it is really refreshing to see someone experimenting with a good mix of techniques. I really love your Regent linoprint too, and would love to have one. I did a four colour lino print last year with reasonable results – you can see the whole process here –
Comment by lestaret March 20, 2011 @ 4:06 pmhttps://lestaret.wordpress.com/category/printmaking/ I’m very keen to swap prints with fellow printmakers and would love the opportunity to trade…
Hey, thanks so much for your feedback!!! I like your idea of adding to the prints by hand. Hmmm…good food for thought. I was considering adding something by pronto plate, but now I’ll reconsider.
Yes, I don’t have a good setup for taking pictures of the prints. I just ran outside, put them on the lawn, and took the pictures! Next time, perhaps I should crop out my odd background, as I can see how distracting it is…
You have a great blog! I love how the brussel sprout holiday cards turned out. I see that you use a bookbinding press for your prints. That’s a good idea. I hand burnish mine, so I’m sure that I don’t get the uniformity that you must with your press.
I’m intrigued by the idea of a swap…let me think about it! Also, I like the Lestaret/Letraset logo…very cool!
Comment by slightlywonky March 20, 2011 @ 5:30 pmThanks for your comments also. I’ll keep using the Lestaret name until Letraset notice and stop me! If you are up for a swap, you can find my email if you dig around the blog a bit. Just let me know…
For the record, I don’t always get a uniform print on the press – it all depends upon how much ink and how much pressure – it’s different every time, but I can get reasonably similar prints whilst retaining a handmade feel, which I think is important.
I am restoring another old cast iron press (last used in 1990 and stood outside since!)which should give me a little more control on the pressure, but this is taking much longer than I expected! Should be operating in a month or two…
Good luck with your printmaking!
All the best,
Chris
Comment by lestaret March 21, 2011 @ 6:41 pm